The Ripe, The Bad, and The Cutlery
The final animation can be found on the following link:
http://www.youtube.com/watch?v=KS05XMruXzk
Evaluation
Throughout this project I have learnt many valuable skills in both Adobe Flash and Adobe After Effects.
I am more comfortable in both software packages and can navigate and find the tools I need without thinking.
I used pre compositions a lot through the production of the animation. This was very useful. It made layers easier to locate while tidying up the window.
This animation is aimed at all ages as it does not contain foul language or adult images.
If I were to do this project again I would do the following:
Create some more background Images. At the moment the background always remains the same. For some scenes I flip the background images.
Add some more realistic motion. Close ups of a gun firing. Add some wobble to the fruit (to show that they are fruit and not hard objects).
Move the Cutlery when they are laughing. At the moment they are still images.
Change the Story. I was limited to a 30 second animation (which I already went over). You can not create a story in this short time. A teaser trailer could have been a better idea.
Overall I feel the animation looks professional and contains both realistic motion (Doors, Tumble Weed, Walk, Poster, Bird) and Realism (Shadows, Depth).
Thursday, 19 January 2012
Tuesday, 17 January 2012
Adobe Premiere. Additional sound effects. Foley Sounds.
I used Garage Band to record the additional sounds.
Tumble Weed - Rustle a Shopping Bag (Sainsbury's)
Cage Shaking - Nails on Metal
Paper - Waving A4 in the air
Saloon Door - Door - 1 - Open (Taken from www.soundjay.com)

As a last minute decision I have added shadows to my scenes.
This was done by adding a 'Shape Layer' and using an effect called 'Gaussian blur'.
I imagined where the sun would be when adding the shadows.
I feel It was done correctly, especially when the sheriff is talking to the cutlery. The characters are standing opposite each other, so the shadows appear on opposite sides.


Sunday, 15 January 2012
As it is coming towards the end of the project I thought I would compare my Original and updated storyboard, and explain why I had changed it.
Original:

Updated (New):


As you can see, the changes I have made are massive. Both start with a slow zoom into the saloon. I then cut the conversation with the bar maid as it was taking up to much time and had no input into the story. The Orange still runs into the bar and the sheriff still responds. I then cut the entire battle scene and left it to the audiences imagination. Instead, I now have a new character 'the pea' getting angry and shouting at the cutlery.
The main reason for these changes were to save time, due to the animation being limited to 30 seconds (which I am already over). I also saved time animating due to removing characters and unnecessary images. My new storyboard also gives me a lot more space to add realistic motion.
Tuesday, 10 January 2012
I have decided to add some more realistic motion
I am going to add a simple animation of a bird flying in the distance.
After watching multiple videos of 'Turkey Vultures', I have found that they do not flap their wings as much as other birds. It is also rare to see them travel alone.
Due to this being a stylized cartoon I may have to exaggerate the use of wings.

In cartoons vultures are always portrayed as evil.
They have large heads, long necks and arched backs.
The image to the left is found on www.drawinghowtodraw.com

I will animate the vulture above using the onion skinning and paint brush tool in Adobe Flash.
Not much animation will be needed due to the realistic motion research results.
I have not added much detail or animation to vulture as it will be far in the background and quite small.
I am going to add a simple animation of a bird flying in the distance.
After watching multiple videos of 'Turkey Vultures', I have found that they do not flap their wings as much as other birds. It is also rare to see them travel alone.
Due to this being a stylized cartoon I may have to exaggerate the use of wings.
In cartoons vultures are always portrayed as evil.
They have large heads, long necks and arched backs.
The image to the left is found on www.drawinghowtodraw.com

I will animate the vulture above using the onion skinning and paint brush tool in Adobe Flash.
Not much animation will be needed due to the realistic motion research results.
I have not added much detail or animation to vulture as it will be far in the background and quite small.
Monday, 2 January 2012
Using the research in tumble weed I have created my first scene to the animation.
Without sound the movement of the tumble weed looks unrealistic. This is because you can't hear when it is in the air or hitting the ground. In the final edit I will add sound and it should look perfect.
Without sound the movement of the tumble weed looks unrealistic. This is because you can't hear when it is in the air or hitting the ground. In the final edit I will add sound and it should look perfect.
I may still change this before adding it to the final animation. The shadow needs to rotate and be darker!
As you can see I have used 3D layers. I feel this creates depth and makes the environment a lot more realistic.
I used the position key frames on the camera layer to create the slow zoom.
On youtube I found a video (below) that shows 2D photographs converted into 3D using this technique.
This would have been done by firstly cutting up the image in Adobe Photoshop and using the clone tool, then saving as a .png. They would have then been imported into after effects and placed in a 3D space.
Sunday, 18 December 2011
I have just completed drawing and coloring the Saloon in Adobe Flash.
The saloon will be used at the beginning of the animation to show where the scene takes place. This is regularly used in episodes of 'The Simpsons' and 'Family Guy'.

The Simpsons house.
I used many different online resources to research into what a saloon looks like.
Here is 2 versions of my final image. The first shows the Saloon with black lines. The second shows it with brown lines as it will appear in the animation.

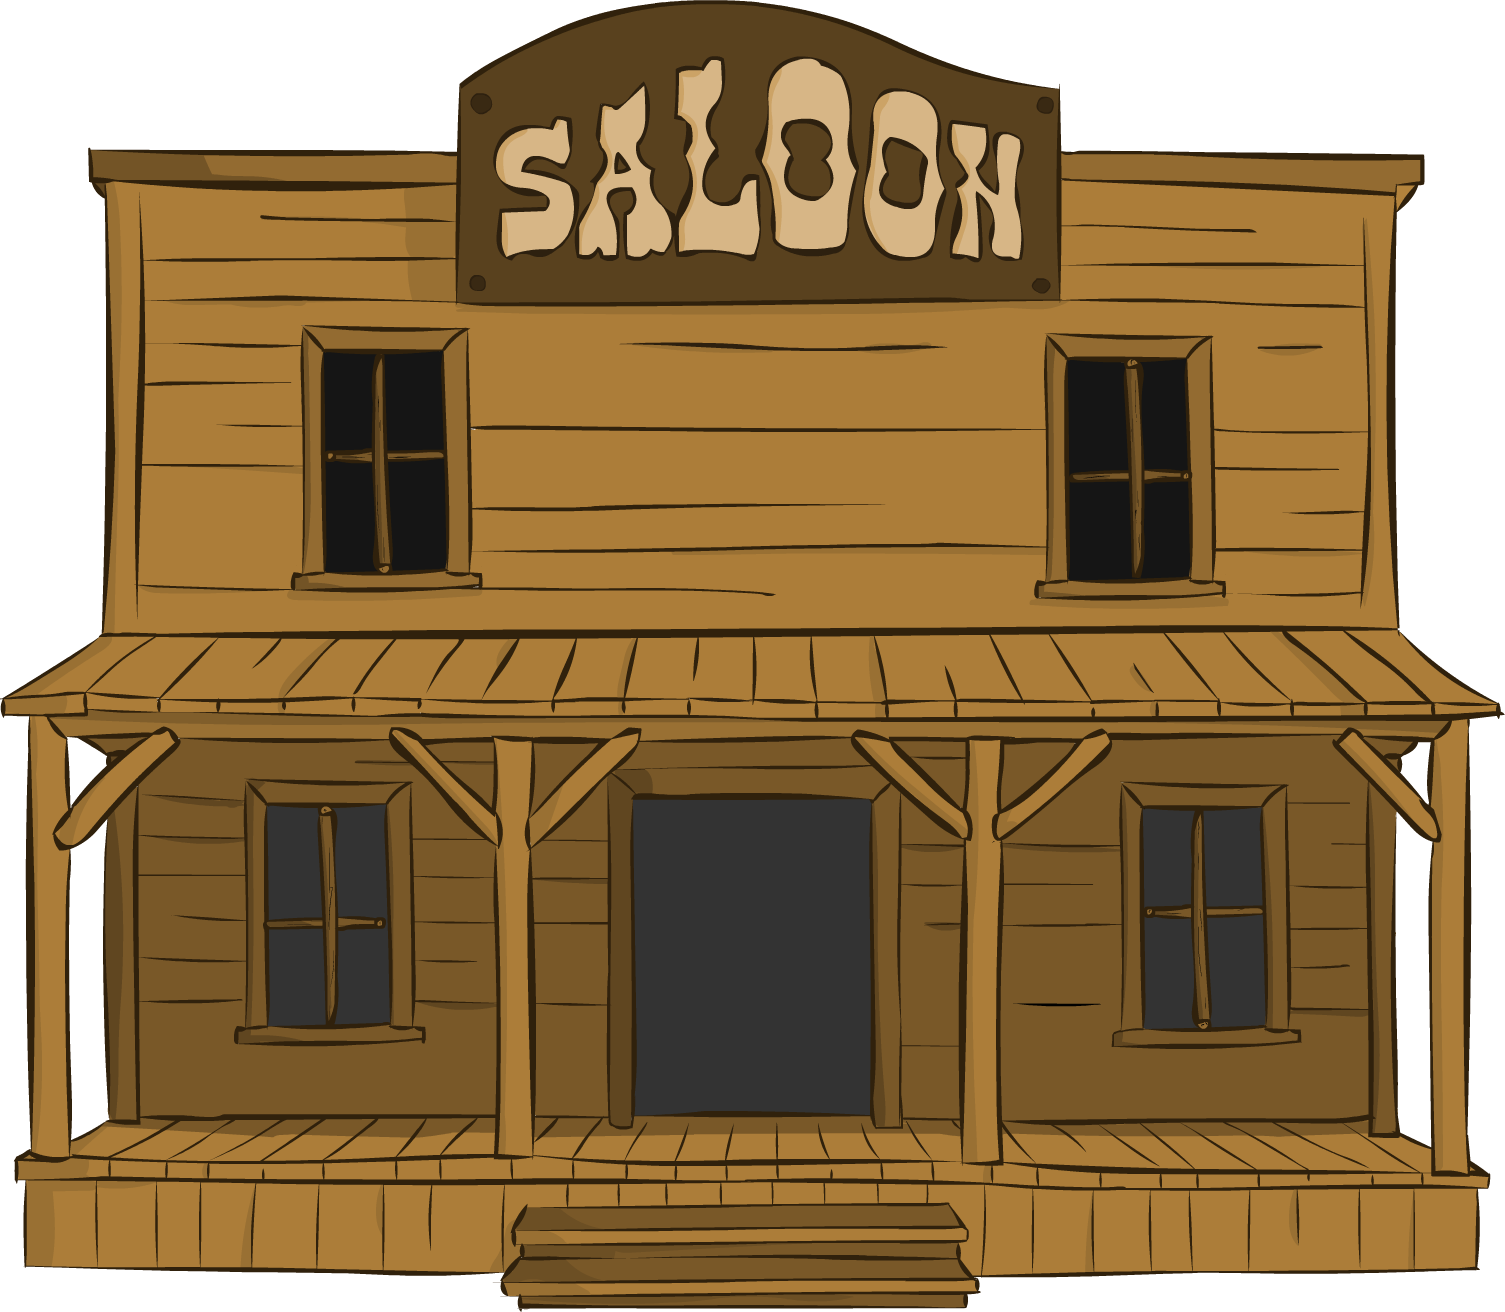
The brown lines will help it fit in the scene.
This drawing took a lot longer than expected, but I am happy with the outcome.
In the next few days I hope to complete the intro to my animation.
Sunday, 4 December 2011
I have recently begun the lip sync process of the animation.
The recording went well and was done in one sitting.
I am going to be lip syncing in separate compositions in Adobe After Effects. I will then pre compose these and import them into the final animation file.
I have been researching online into what mouth shapes to use when lip syncing. The following images are some that have helped:


The following is a Lip sync test using the 'Potato Sheriffs mouth'
It looks like I need to create some more mouth shapes.
When Lip syncing I use the wave file image to gain the correct timing for the words.
All my characters have around 4 - 5 different mouths.
The Following are the Oranges:

Default mouth. This is used when the character is not speaking or showing emotion.

A, AHHH, EH, I. This mouth shape is used the most when animating. It can be used for most words.
 F, TH. This is used before words beginning with F. It can also be used for words beginning with TH (but only because the orange uses F's)

O, OOH, URGH. This mouth is used for all words with oooh's. Is also used for short words.
I use the wave file in Adobe After Effects to see when the mouth shapes are needed.

The recording went well and was done in one sitting.
I am going to be lip syncing in separate compositions in Adobe After Effects. I will then pre compose these and import them into the final animation file.
I have been researching online into what mouth shapes to use when lip syncing. The following images are some that have helped:


The following is a Lip sync test using the 'Potato Sheriffs mouth'
When Lip syncing I use the wave file image to gain the correct timing for the words.
All my characters have around 4 - 5 different mouths.
The Following are the Oranges:

Default mouth. This is used when the character is not speaking or showing emotion.

A, AHHH, EH, I. This mouth shape is used the most when animating. It can be used for most words.

O, OOH, URGH. This mouth is used for all words with oooh's. Is also used for short words.
I use the wave file in Adobe After Effects to see when the mouth shapes are needed.

Subscribe to:
Posts (Atom)